
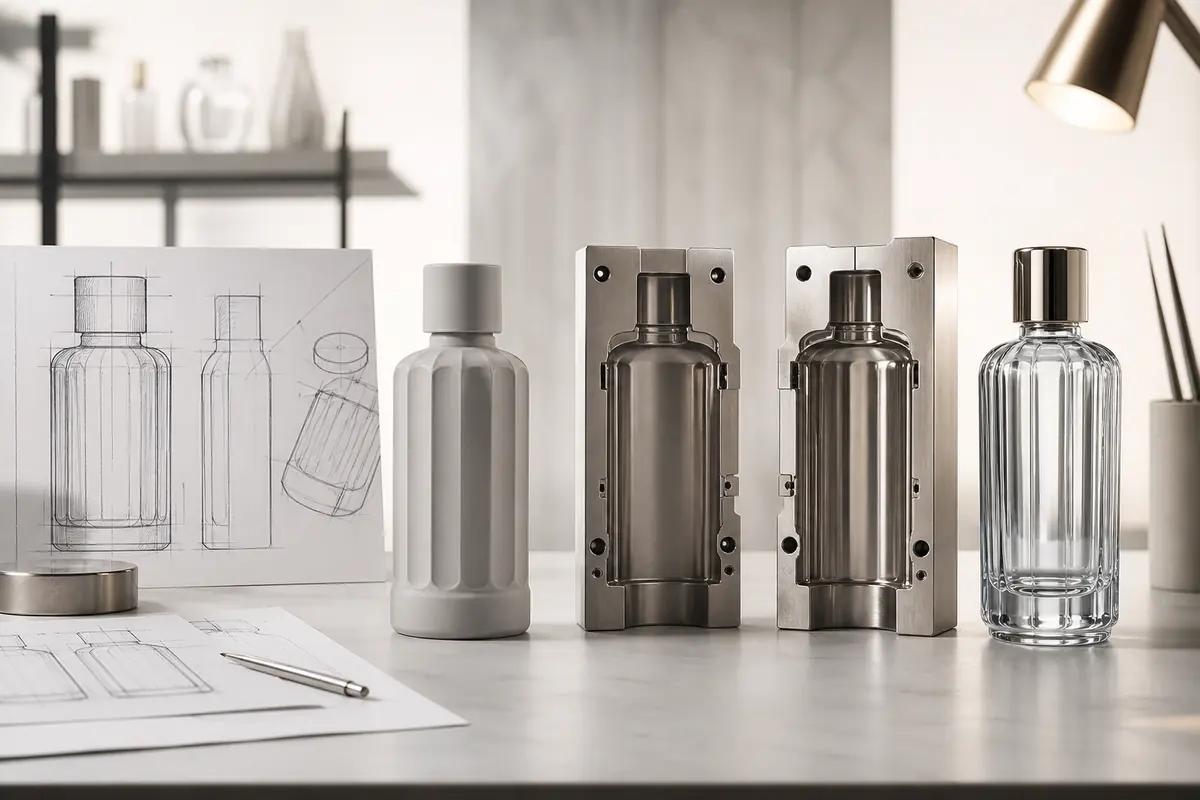
Custom glass bottle mold development converts a brand concept into a bottle geometry that can be formed, inspected, decorated, closed, filled and packed. The process begins before tooling: capacity, dimensions, neck finish, closure, decoration area and manufacturing feasibility must be defined well enough to create a controlled design. Samples then show whether the structure meets the brief and which issues must be resolved before mass production. For buyers, the most important rule is to lock the functional interfaces before committing to tooling.
What Information Is Needed Before Mold Development?
A mold project needs a functional packaging brief, not only a reference image. State the intended product and formula context, target capacity, preferred dimensions or dimensional envelope, bottle shape, neck finish, closure, decoration area, logo treatment, order expectations and timeline. If weight, filling-line or carton constraints are project-specific, provide the verified limits.
Mark which requirements are fixed and which can change during feasibility review. A required closure interface should be resolved early, while a shoulder curve or decorative feature may remain open to adjustment. Exact dimensions, glass weight, wall distribution and tolerances must come from approved project drawings; they should not be copied from another bottle or estimated from appearance.
Minimum Mold-Development Brief
- Target capacity and dimensional envelope
- Intended formula, use and dispensing method
- Neck finish, closure and cap relationship
- Shape, proportions, base and shoulder direction
- Molded logo, texture and decoration requirements
- Order plan, destination market, packing and timeline
Concept Drawing and 3D Development
The concept stage translates brand intent into information that design, packaging and manufacturing teams can review together. Drawings should identify the overall shape, major dimensions, capacity intent, neck, base, decoration panels and molded details. Three-dimensional representations help assess proportions and component relationships, but a rendering is not evidence that the bottle can be manufactured reliably.
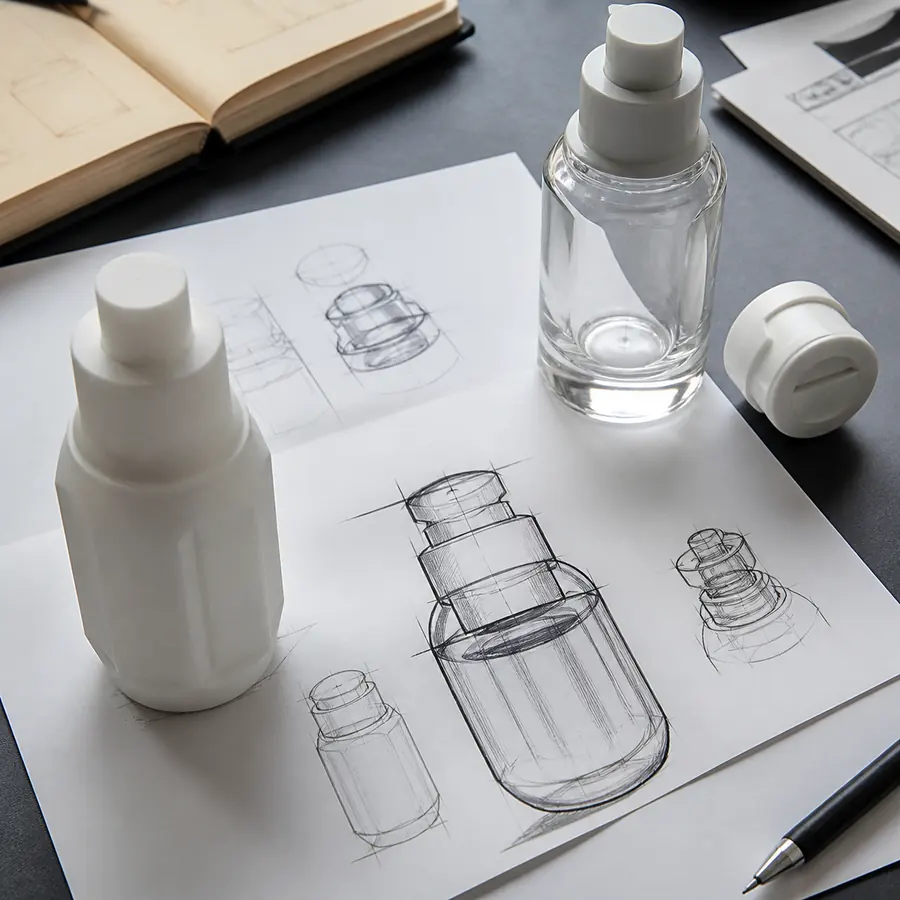
Review the bottle together with the selected closure and cap. A pump or dropper can change the assembled height and visual balance, while an overcap may require a specific shoulder or neck relationship. The broader custom cosmetic glass bottle process explains how structural development connects to decoration, testing and production approval.
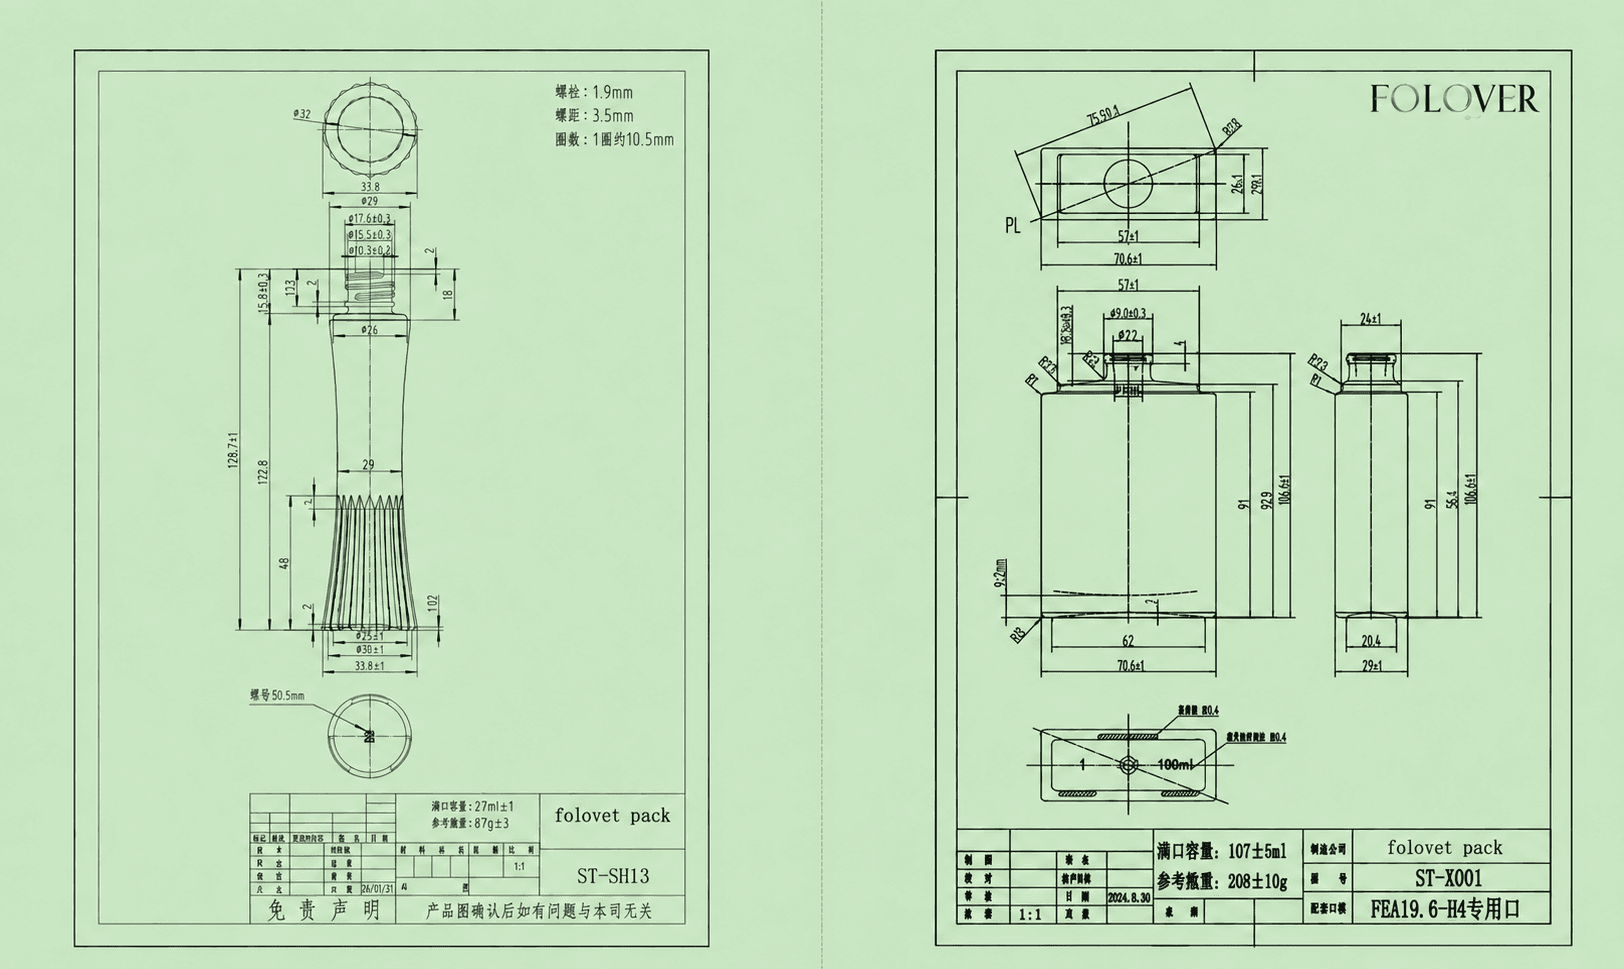
Feasibility Review
Feasibility review asks whether the proposed geometry can be formed with acceptable production stability and whether downstream operations can work with the resulting bottle. Review may include glass distribution, transitions between thick and thin areas, corners, base design, neck position, mold parting and release, surface relief and repeatability of the intended shape. These relationships are specific to the proposed design.
Sharp corners, abrupt transitions, extreme asymmetry and deep relief can increase forming difficulty, but they should not be treated as universally impossible. The practical response may be to soften a transition, change proportions, simplify a relief or move a feature while protecting the part of the silhouette that carries the highest brand value.
Key takeaway: mold development should freeze the functional interfaces first. A distinctive silhouette has limited value if the neck, closure, fill, decoration or packing relationship remains unresolved.
How Bottle Geometry Affects the Mold
The base supports standing stability and contributes to the visual weight of the package. The shoulder connects the body to the neck and affects both shape and glass flow. Flat panels can provide useful decoration areas, while tight curves or complex relief can make artwork placement and production control more sensitive.
Parting and seam locations should also be considered in relation to the final appearance. A seam that passes through an important decoration panel or tactile area can be more noticeable than one positioned in a less critical zone. The appropriate solution depends on the exact mold concept and forming route rather than one universal seam-location rule.
Downstream operations belong in the geometry review. The bottle must be transported, gripped, decorated, assembled and packed. A shape that looks effective in a rendering may rotate during decoration, interfere with a closure or use carton space inefficiently. These questions are easier to address before tooling than after a mold sample has already been produced.
Confirm the Neck Finish Before Tooling
The neck is the critical interface between bottle and closure. Confirm whether the package uses a screw, crimp or another verified system and identify the exact pump, sprayer, dropper, reducer, cap, liner or gasket that must work with it. A nominal neck description or visual similarity alone does not establish compatibility.
A neck change can affect tooling, bottle height, closure seating, sealing geometry, cap alignment, dip-tube or pipette relationship and the filling or assembly process. Review drawings and physical components before the design is frozen. The guide to bottle and closure tolerances explains why mating components should be evaluated across representative production variation rather than one ideal pair.
Compatibility boundary: final bottle and closure compatibility should be confirmed using the selected components and physical samples before bulk production. If the neck, closure, gasket, dispenser or another mating component changes after an earlier approval, the affected interfaces should be reviewed again.
Prototype and Sample Routes
Projects may use concept models, visual prototypes, development tooling, mold samples, pilot samples or other stages, but there is no universal sequence that proves the same things for every project. The useful question is not simply “Do we have a sample?” but “What can this sample actually prove?”
An early visual model may confirm proportions without proving production-glass quality or dimensional performance. A development sample may reveal geometry, neck or assembly issues while still differing from later production conditions. Later physical samples can support dimensional, visual, decoration, assembly and compatibility approval.
| Development Stage | What It Can Help Evaluate | Main Limitation | Buyer Action |
|---|---|---|---|
| Concept / 3D model | Shape, proportions and component direction | Does not prove forming stability or production-glass quality | Approve the design direction before tooling review |
| Visual prototype | Scale, handling and assembled proportions | May not represent production glass or tolerances | Record which features are visual references only |
| Mold / development sample | Geometry, neck relationship, seams and structural observations | May not represent every mass-production condition | Compare it with the current drawing revision |
| Decorated / assembled sample | Appearance, logo position, closure relationship and component coordination | Does not by itself prove formula compatibility | Review the complete package physically |
| Approved production reference | Comparison during bulk-production review | Only controls criteria that have actually been defined | Identify and retain the approved revision |
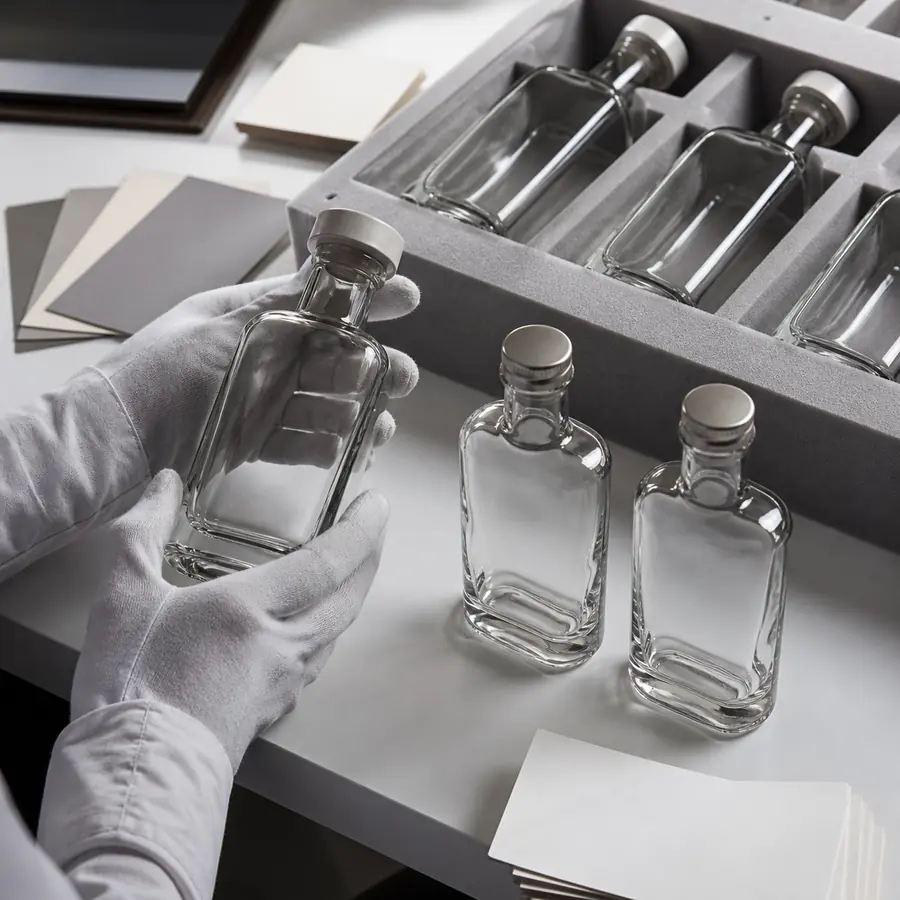
What to Review on a Mold Sample
- Overall proportions, target capacity and standing stability
- Neck finish, closure seating and cap alignment
- Base, shoulder, seams and visible glass distribution
- Embossed or debossed details and decoration areas
- Fit with intended filling, assembly and secondary packaging
- Compatibility with the actual formula and selected components where applicable

When Mold Revision Is Needed
A sample may reveal that proportions, capacity, standing behavior, relief, neck relationship or cap alignment require adjustment. Separate visual observations from functional problems, then identify whether the source is the drawing, tooling, closure, assembly or another controlled variable.
Changing several variables at once makes the next sample harder to interpret. A more controlled sequence is to identify the issue, record the current revision, make the agreed change and then review every interface affected by that change.
Every approved change should receive a new revision identifier. Ask whether the change affects components, artwork, filling, decoration or packing. Revision count, tooling cost and timing are project-specific commercial terms and should be confirmed in the individual quotation or development agreement rather than inferred from a general guide.
Embossed and Debossed Branding
A logo, pattern or texture can be formed into the glass when it is designed as part of the bottle geometry. Embossing raises the feature; debossing recesses it. Readability depends on scale, relief concept, surface curvature, glass distribution and the way the feature catches light. Fine details that appear clear on a screen may not translate directly into formed glass.
Molded branding should also be reviewed with the intended decoration. A coating can change the visual definition of relief, while printing or hot stamping may require clear registration space. If legal marks, capacity information or other mandatory content are required, confirm the exact content and placement for the destination market instead of assuming one molded layout applies worldwide.
Which Custom Shapes Are More Difficult?
Difficulty tends to increase when a design combines sharp corners, extreme asymmetry, narrow transitions, abrupt changes in section, deep relief or geometry that is difficult to form, release, handle or decorate consistently. A visually heavy base or strongly offset structure can also create development questions that are not obvious in a front-view rendering.
These are feasibility signals, not automatic rejection rules. A useful design review identifies which feature carries the highest brand value and simplifies lower-value complexity. A slightly softer corner, revised shoulder or adjusted relief may preserve the intended identity while improving manufacturability and downstream handling.
From Approved Sample to Mass Production
Approval should identify the bottle drawing, mold or sample revision, neck and closure, visible quality reference, decoration plan, relevant test evidence and packing requirements. Once the sample is approved, those decisions should be translated into a controlled production specification. A later change must be reviewed for its effect on tooling, components and previous approvals.
For flaconnage bottles used in cosmetic and perfumery applications, ISO 12818:2013 provides a published reference for tolerances covering brimful capacity, height, diameter or width and verticality. It does not establish one universal set of contractual acceptance values for every custom FOLOVER bottle; the applicable dimensions and tolerances still need to be identified in the approved project specification.
Where capacity verification is relevant, ISO 8106:2004 specifies a gravimetric method for determining glass-container capacity and compliance with specified limits. For verticality, ISO 9008:1991 defines a glass-bottle test method that considers deviation from vertical together with the combined effect of related deformation.
Technical reference boundary: an ISO method or tolerance standard is a reference framework, not automatic evidence that every bottle has been tested to that standard or that one acceptance value applies to every project. The buyer and manufacturer should identify the applicable drawing, measurement method, sample revision and acceptance criteria for the exact bottle.
Production review may include appearance, relevant dimensions, capacity, standing, neck and component fit, decoration consistency, functional checks where applicable and protective packing. Do not introduce dimensional tolerances, inspection levels or pass/fail values unless they are supported by the approved project specification or applicable test documentation.
Mold Ownership and Documentation Questions
Before paying for tooling, ask who owns the mold, where it will be stored, whether it is exclusive, who may use it, how maintenance or replacement is handled, what happens after extended inactivity and which drawings or records the buyer receives. Also confirm how revisions are authorized and priced.
A tooling payment does not by itself prove ownership, exclusivity or intellectual-property rights. These are contractual questions. Documentation should identify the approved design and the agreed commercial scope, and brands should obtain qualified legal advice when ownership or IP protection is commercially important.
Commercial boundary: mold fee, ownership, exclusivity, storage, maintenance, revision allowance and lead time are project-specific terms. Confirm them in writing before tooling begins.
How Mold Development Changes MOQ and Timeline
Custom tooling adds development stages before a bulk-production schedule can be finalized. Concept review, drawings, feasibility, tooling, physical samples and any required revisions must be resolved before the final production plan is confirmed. Component availability, decoration, formula evaluation and approval speed can extend the overall project sequence further.
There is no universal MOQ or mold lead time that can be applied to every custom glass bottle project. Bottle production, decoration, closures, secondary packaging and tooling may each have different commercial minimums or scheduling constraints. Buyers should therefore confirm the exact MOQ and timing for the selected structure instead of carrying a stock-bottle baseline into a new mold project.
The comparison of stock bottles and custom molds helps determine whether structural tooling is justified before the brand commits to the additional development sequence.
Integrate Mold, Closure, Decoration and Testing
Mold development should not run as an isolated bottle-design task. The neck must work with the intended closure, the body must provide usable decoration areas, the assembled package must fit secondary packaging, and the final packaging configuration should be evaluated with the actual formulation under intended storage and use conditions.
When the project reaches physical review, use the guide to evaluating cosmetic packaging samples to separate appearance, dimensional fit, function and approval evidence. A visually acceptable bottle should not move directly to bulk production while closure, decoration, formula or packing questions remain unresolved.
Manufacturer Insight
In FOLOVER custom bottle projects, one of the highest-risk development mistakes is starting tooling while a critical interface is still open. A later closure change, unclear capacity target, revised cap proportion, new molded detail or changed decoration area can force several downstream decisions to be reviewed again.
Our practical approach is to lock the neck and selected closure, target capacity, critical dimensional envelope, molded details and major decoration areas before tooling approval. The bottle should then be evaluated as part of the assembled packaging system rather than as an isolated piece of glass.
Where FOLOVER Can Support Development
FOLOVER PACK supports concept-based bottle development, custom bottle shapes and sizes, custom molds, decoration and coordinated bottle-and-component development. Use custom bottle development when a proprietary structural project is justified, the skincare packaging guide to connect bottle decisions to the product and dispensing system, and custom packaging solutions when closures, decoration and secondary packaging also need coordinated development.
Existing bottle directions can be reviewed under cosmetic and skincare glass packaging. Related development guidance appears in Customization & Manufacturing, with adjacent brand-system topics under Packaging Design & Branding.
Conclusion
Frequently Asked Questions
How is a custom glass bottle mold developed?
A custom glass bottle mold normally moves from a controlled packaging brief through concept drawings, structural and feasibility review, tooling, physical samples, revisions and final approval. The exact route depends on the geometry, closure system and manufacturing plan. Buyers should identify what each sample stage can prove and approve the final bottle against the current drawing and assembled packaging configuration.
What information is required before tooling?
Provide the target capacity, dimensional envelope, intended formula and dispensing method, bottle shape, neck finish, selected closure, decoration areas, molded branding, order plan, packing requirements and timeline. Mark which requirements are fixed. Critical interfaces such as the neck and closure should be resolved before tooling so later changes do not force unnecessary mold revisions.
Can a logo be molded into a glass bottle?
Yes. A logo, pattern or texture may be embossed or debossed when the exact design is feasible for the selected bottle geometry and forming process. Scale, relief, curvature, glass distribution and decoration can affect readability. Buyers should review the molded feature at realistic scale on drawings and physical samples rather than relying only on a digital rendering.
Can a bottle mold be revised after sampling?
Some revisions may be possible, but the scope, cost and timing depend on the tooling and requested change. First identify whether the issue comes from the drawing, mold, closure or assembly. Then confirm how the revision affects components, decoration, packing and previous approvals before authorizing the change under the agreed commercial terms.
Who owns a custom bottle mold?
Mold ownership is determined by the project agreement, not by a universal industry rule or simply by paying a tooling charge. Buyers should confirm ownership, exclusivity, storage, permitted use, maintenance, replacement, revision authorization and documentation in writing before tooling begins. Qualified legal advice may be appropriate when intellectual-property protection is important.
Does a custom mold require a higher MOQ?
Not according to one universal rule. A custom structure can have different production economics, while the bottle, decoration, closures and secondary packaging may each have their own minimums. Buyers should confirm the exact MOQ for the selected configuration and expected repeat program instead of applying a standard stock-bottle minimum to a custom mold project.